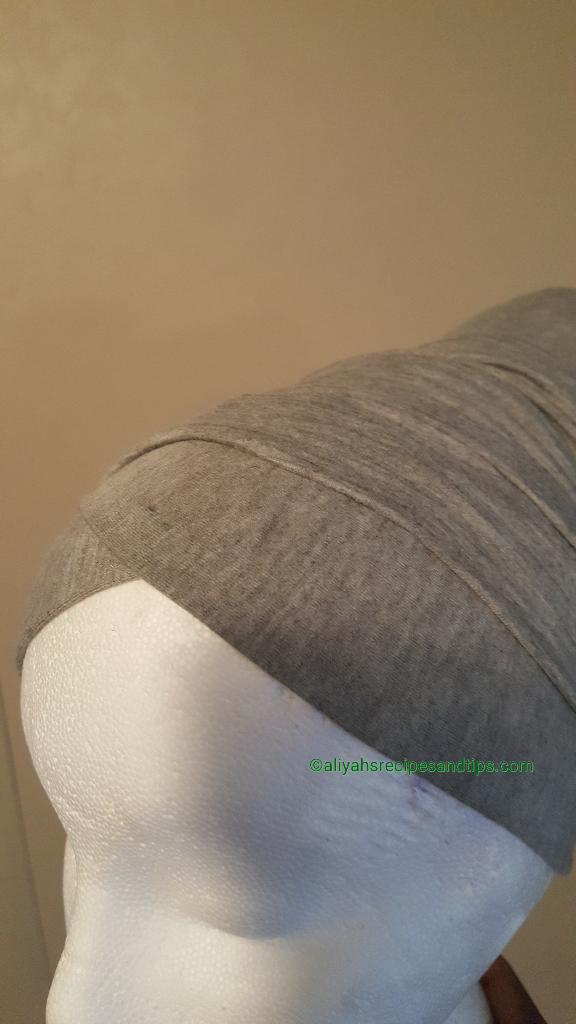
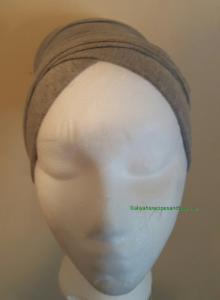
Happy mid-week, guys! Everyday is not about recipes…lol. I’m sharing a sewing tutorial with y’all today and it’s turban hat tutorial. Bad hair day, or you naturally wear a turban, or are you looking for a small business by the side and you love to sew? No problem, this is a diy you can do within 30 minutes if you study this tutorial very well (and which is very easy to understand).
I would implore you to try it out with a fabric you don’t need if you’re new to sewing but if you’ve been sewing for a while then this should be easy, so you can get the cutting and joining without damaging you’re fabric.
The fabric I used is a stretchy fabric and I had like 1.5 yards of the fabric so I got one turban with strands and one without strands. So, about one yard is enough to get a turban with strands. For the band I used 6”x 15” but if the band is too big for you reduce the size you’re going to cut for the band.
Let’s get started.
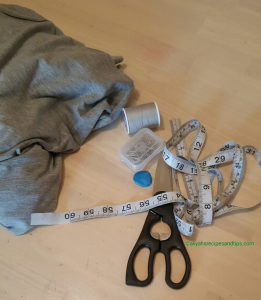
What you need:
1 Yard Stretchy Fabric
Tape rule
Marker/chalk
Scissor
Pin
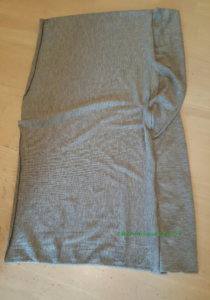
After cutting you have this (picture below)
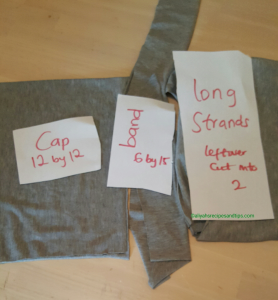
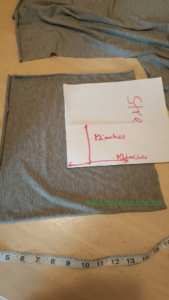
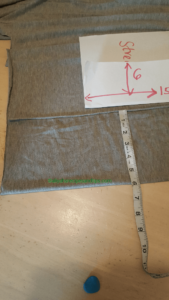
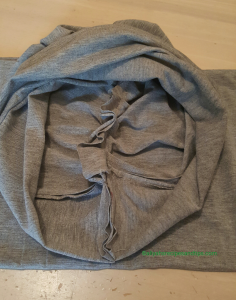
Cut the cap: fold in the fabric the bright sides facing each other (the firm side), the stretchy side should be on the long (length) side as shown in the picture then measure 12” w by 12’’ L, and set aside.

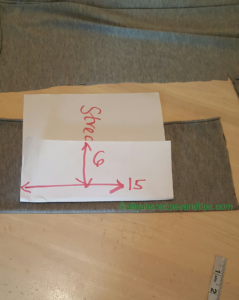
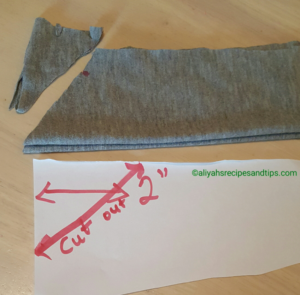
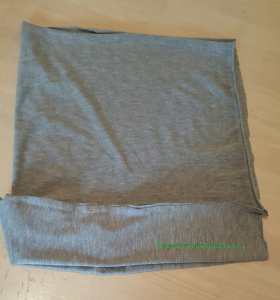
Cut the band: folding in the material and measure 6’w by 15’ length and cut it out.
![]()
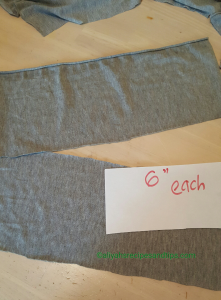
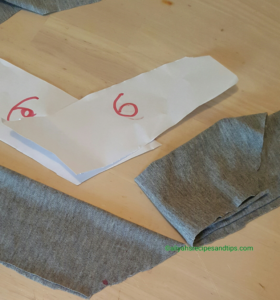
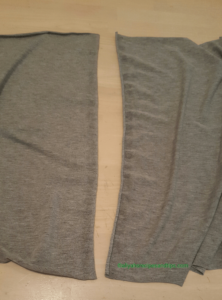
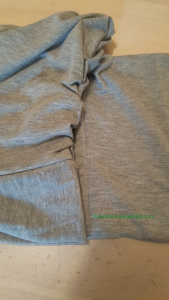
Cut the material, the one you cut in the last step (6 x 15) into two just fold two and cut to get 2 pieces. Fold each piece into two and place together as shown below.
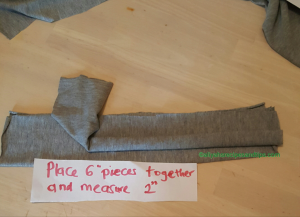
Measure 2’’ towards the opening sides and cut it out in a slant form.
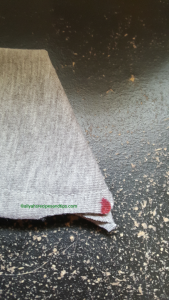
Place each piece together to form a V-shape. In the pictures below the opening parts are facing down. Pin both down and sew the opening sides, when you’re done fold it into two (equally) and notch it to know where the middle part is.

![]()
![]()
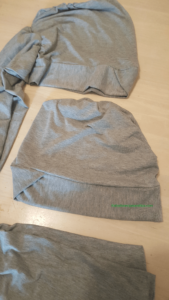
Pick up the first fabric you cut (12’’ by 12’’ the one you cut in the first step) fold into two equal parts and notch to know the middle. Place the last fabric you sewed (6″x15″) on top of the one you just picked let the nicked parts meet and pin both down don’t forget the bright sides should be out, sew them together straight down.
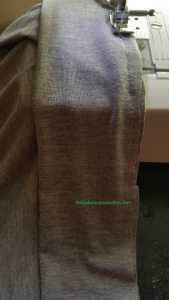
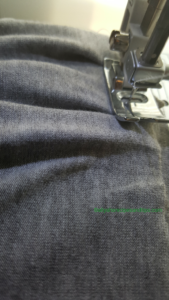
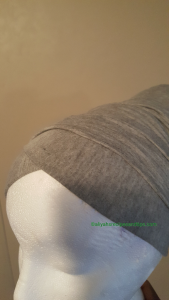
Fold the fabric you just sewed into two equal parts, this time the bright side should be inside. Sew the opening by pleating (fold in little material and sew one at a time), pleat the material then sew, continue pleating and sew until you get to the end, should have about 6 pleats depending on how small/big pleats you created, if you choose you can make some part (towards the band) straight.

Joining the strands: Get the remaining fabric out and cut into two, join the edge/end of both together, the stretchy part should be the length side.
Fold the fabric into two after sewing (bright side in) and sew leaving about 1’’ space to flip the material in and out and close the opening.
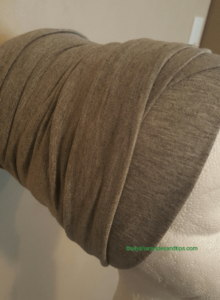
Flip the cap (the pleated one) out to give you the bright side (outward) and join the long strand by sewing both the cap and long strand together, making sure that the sewed opening is not showing.

….And you’re done.
Thanks it really helped me in making my own turban 🖐️high five
I’m glad the post helped you.
Thanks for the feedback.