Satin Bonnet is good for hair, especially for natural hair. It helps to reduce frizz, tangling, and wear and tear of hair from sleep. This tutorial is for the reversible satin bonnet or hair cap. This reversible bonnet is easy to make and can be worn in and out as its name implies you can wear both sides. It could be sown by hand or with a sewing machine. I will use both paper and fabric to do the pictorial tutorial. I implore you to try using a paper and see how you get the tutorial before using fabrics. Leave any questions you have in the comment sections. Let’s get started.
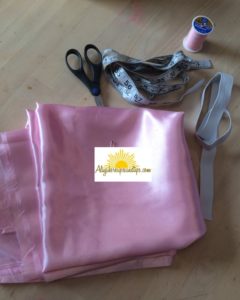
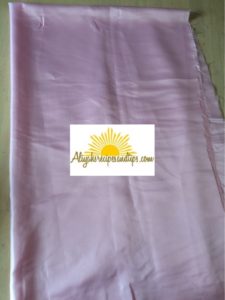
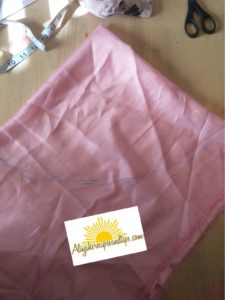
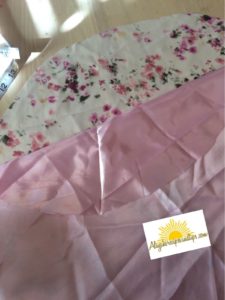
The fabrics I’m using

Materials needed are:
- Satin fabric
- Pins or bob pins
- measuring tape/ tape rule
- scissors
- Fabric pen or chalk
- Needle or a sewing machine
- Thread
- Elastic
- Ribbon (optional)
INSTRUCTIONS
Measure the size of your head (or the person you’re sewing for) then add one inch to the number you get. The number I’m working with is 21″ (twenty-one inches) then add 1” to it. That gives me 22 inches. That’s the measurement for my elastic.
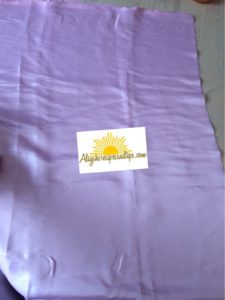
Fold the fabric into two (rectangular).
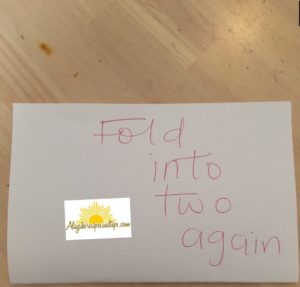
Fold the material into two again (to make four folds).

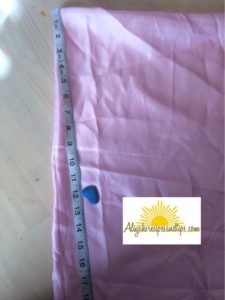
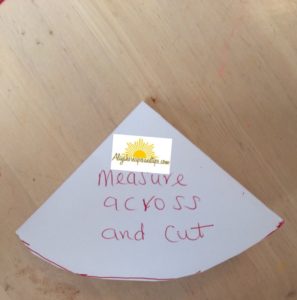
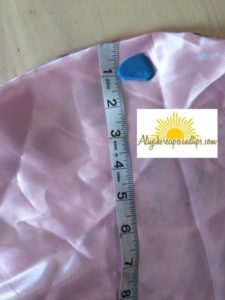
Measure along the folded line (I’m measuring 12”) and that’s for the “body” i.e where the hair body stays, I hope you understand what I meant.
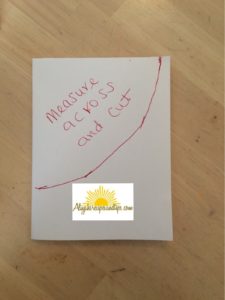
Measure from the closed edge fabric (not the opening side) and connect the dots.
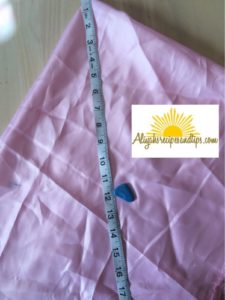

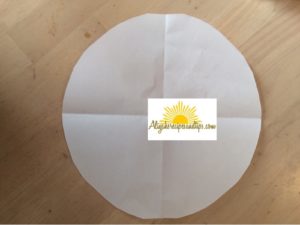
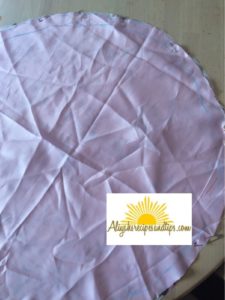
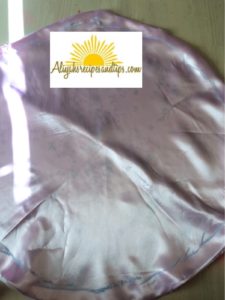
You should have a cone after cutting then a circle when you open it (the cone) up.
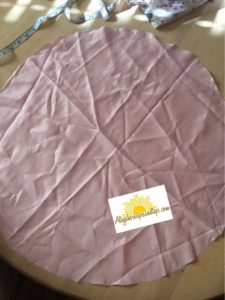
Repeat the same process on the second fabric. Place both circles (fabrics) together, right sides facing each other.
Pin down the fabrics together, make sure the edges touch each other while doing that. Measure 1″ (one inch) in as shown in the picture below) and connect the dots.
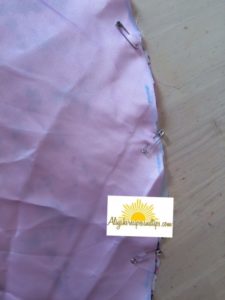

Sew along with the connected dots, and leave about 3″ (three inches) opening to flip the fabric to the other side(in and out). When you’re done with flipping the fabric, you should have something like the one in the picture below. Use pins to hold the openings so you know where the opening is.
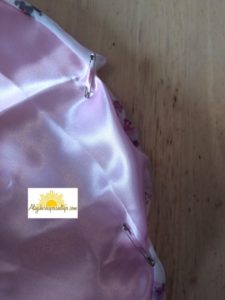
To create a casing for the elastic, measure another 1” (one inch) in, and connect the dots and sew across the dotted lines.
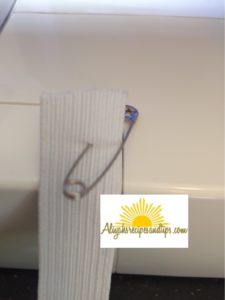
Pin the elastic (the measured one) and put it through the opening you have on the fabrics. Remove the pin and overlap the elastics and sew together.
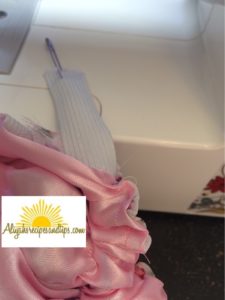
Close the opening (where the elastic and pin). You can sew the last part just to secure it but it totally optional.

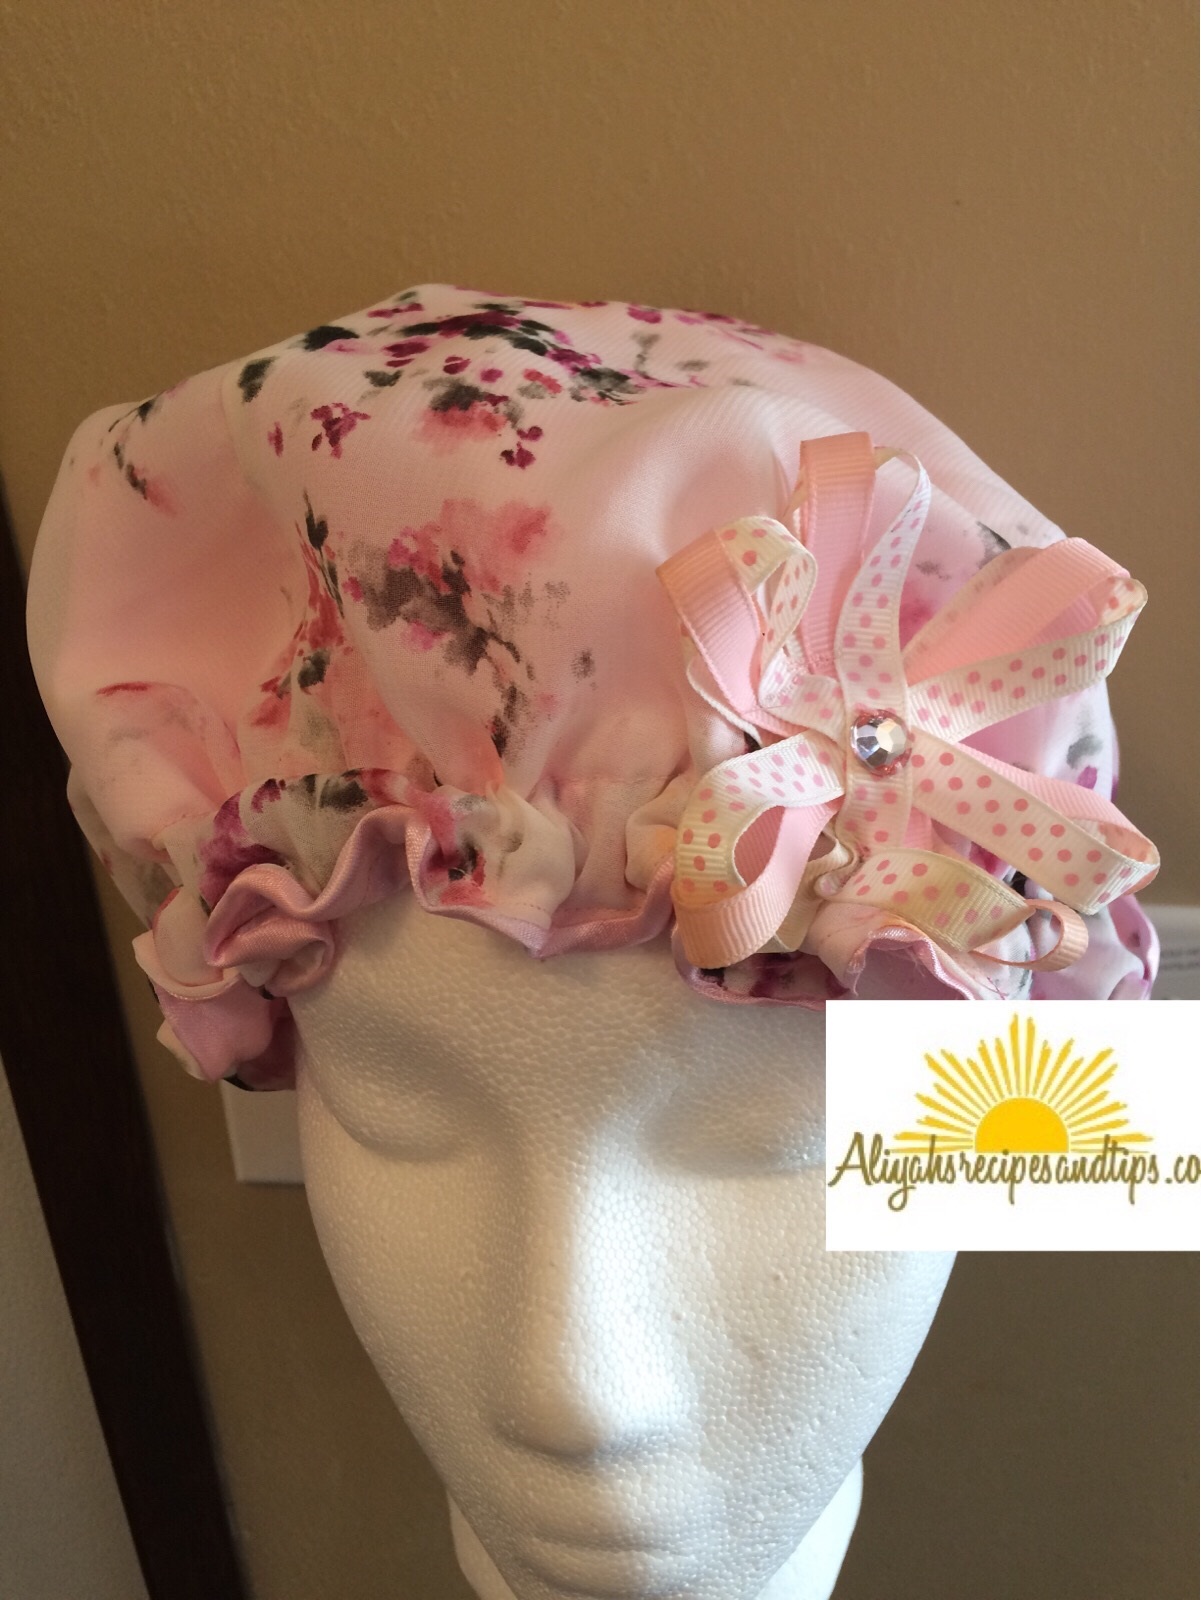
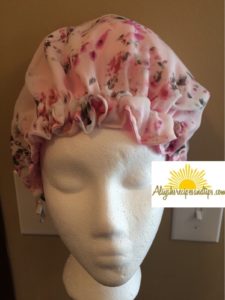
And you’re done. The result would be this…
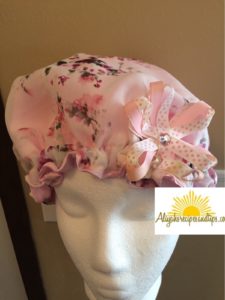
I added a ribbon, you can do that too but it’s optional.

P.S
For the elastic casing, add 1/2” to the size of the elastic. For example, if you’re using 1/2” elastic add 1/2” to it.
***********************************************************************************************************************************************************************
Don’t forget to subscribe to the Aliyahsrecipesandtips newsletter for free and receive the new post notifications right into your inbox.
If you try any of my recipes, please feel free to rate and leave your thought. Also, I will love to see what you come up with please tag me on social media @aliyah’s recipes #aliyahrecipes
Follow me on social media, just click on the links below:
Thanks so much
Thanks Aliyah for this tutorial, it’s well detailed, God bless you real good.
Please how much can I sell each, cos I don’t know the price of satin now.
You’re welcome.
I’m not sure about the price depending on your location.
Do feasibility studies, ask around from other sellers, the price of the items needed plus your labor.
I hope this helps!
Perfect explanation. Thank you
You’re welcome, Fidelia!
Thanks so much for this .
But then I need to know is 12 inches the general measurement For all Head size but elastic measurement differs for different head size ?
Hello Opeyemi,
Thanks for stopping by, the 12″ and it is big enough for big/very full hair body and yes, the elastic. Please go with the head’s measurement for the elastic. Thank you.
Wow.. Really detailed.
Thank you so much, I made my first bonnet. I’m so happy.
Hi Lizzie,
Awesome!!!
Thank you for the feedback. I’m glad it worked out for you.
Pls i dont understand at all
Pls i dont understand at all
Hello Ayomipo,
Which part you do not understand?
Detailed and extremely helpful… God bless you 🙏
Amen, Damilola, and you too.
Hello
Hope all is well.
Please what is the measurement for the elastic, I mean the length.
FIne, thank you, Priscilla.
The elastic measure should be the circumference of the person’s head, you can also use the same measurement you used for the fabric.
Depending on how tight you want it.
Hello
How did you arrive at 12 inches for the cut out of fabric and satin?
Hi,
That was the “body” length Like the cup or space where hair will fill.
So helpful thanks
You’re welcome, Noela.
It’s Still confusing…I mean the instructions
Hi Anthonia,
Which part?
Hi I’m still fairly new to sewing what kind if satin fabric do I purchase when i went looking I only saw crep costume and bridal satins the bridal satin felt kindda rough
You can ask for a real satin or silk and compare them to the once you’ve checked before to know the one that you like most.
what size fabric did you use
Hi Tasha, I used less than one yard (each), so to be on a safe side get one yard of fabric each.
Thanks for stopping by.